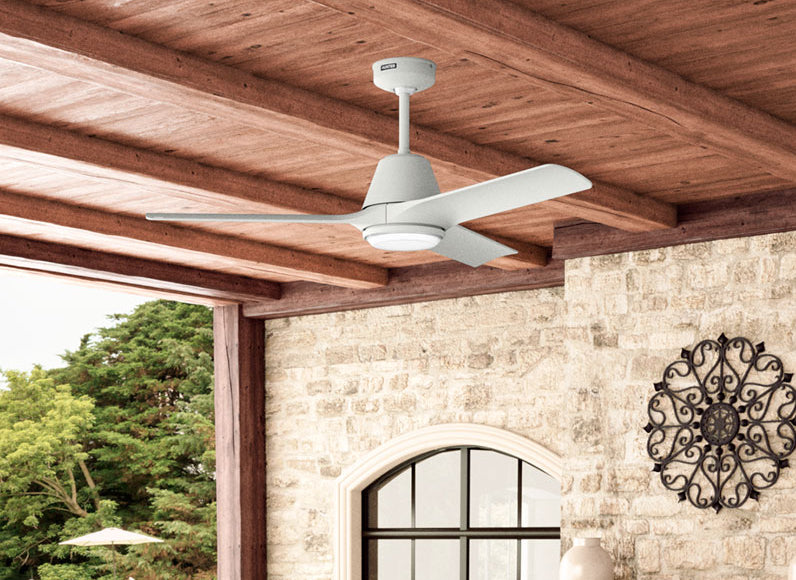
As we continue designing fresh and modern ceiling fan styles, saying goodbye to your old school ceiling fans has never been easier. Whether you’re replacing the outdated ceiling fans in an older home or swapping it out with the styles, installing a new ceiling fan is an easy weekend home project to freshen up your space. You’ll need to start by removing your old ceiling fan.
Ceiling fans have components that are structured differently from model to model. If you have access to your old ceiling fan’s manual, it will be a helpful guide as you work backwards uninstalling it. Also be sure to have a variety of screwdrivers in different sizes and lengths handy. All that being said, we have some general tips for how to remove a ceiling fan.
Prepare to Remove Ceiling Fan
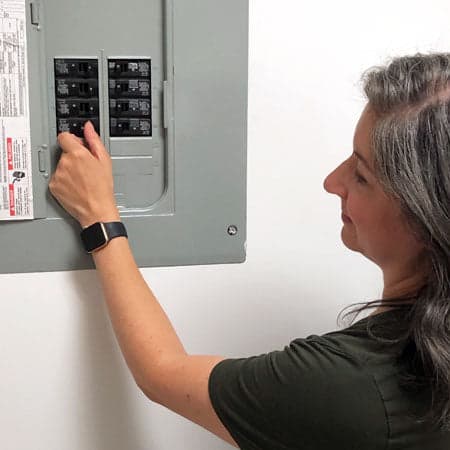
Shut off the power
Before you begin uninstalling a ceiling fan, turn off power at the wall switch and circuit breaker. We also recommend using a voltage tester to ensure power is off to your ceiling fan.
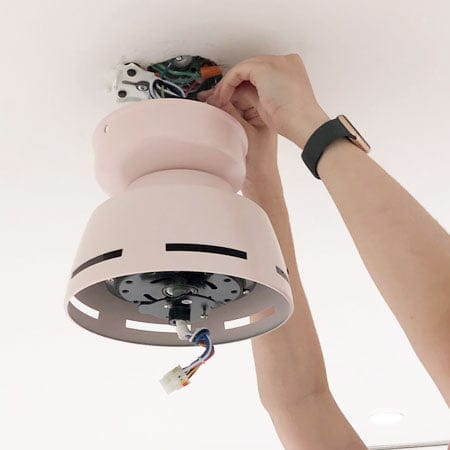
How to Uninstall a Ceiling Fan
Remove the light fixture
Ceiling fans with lights often come with one of these types of fixtures: multi-arm with bulbs, bowl light fixtures, glass shades encasing integrated light components. Use these instructions to learn how to remove the ceiling fan cover for the type of light on your fan model:
- For multi-arm light fixtures, start by removing the light bulbs and then remove any necessary glass shades.
- For bowl light fixtures, you’ll need to remove any caps and finals. Make sure to hold the bowl light glass as you remove them; caps and finials help secure the glass to the light kit. Remove the glass and then the light bulbs.
- For ceiling fans with integrated light kits, remove any glass coverings first. You may or may not need to unplug the integrated light kit from the fan.
You will need to use screwdrivers to remove the light kit assembly piece from the fan motor housing.
Remove the fan blades
Some ceiling fans have mid-body blades that install directly to the fan’s motor housing through the fan body. Unscrew these blades and gently remove them from the fan.
Many ceiling fan blades are attached to blade irons that connect to the motor housing. For simplicity’s sake, you can unscrew the blade irons from the motor housing while keeping the blade attached.

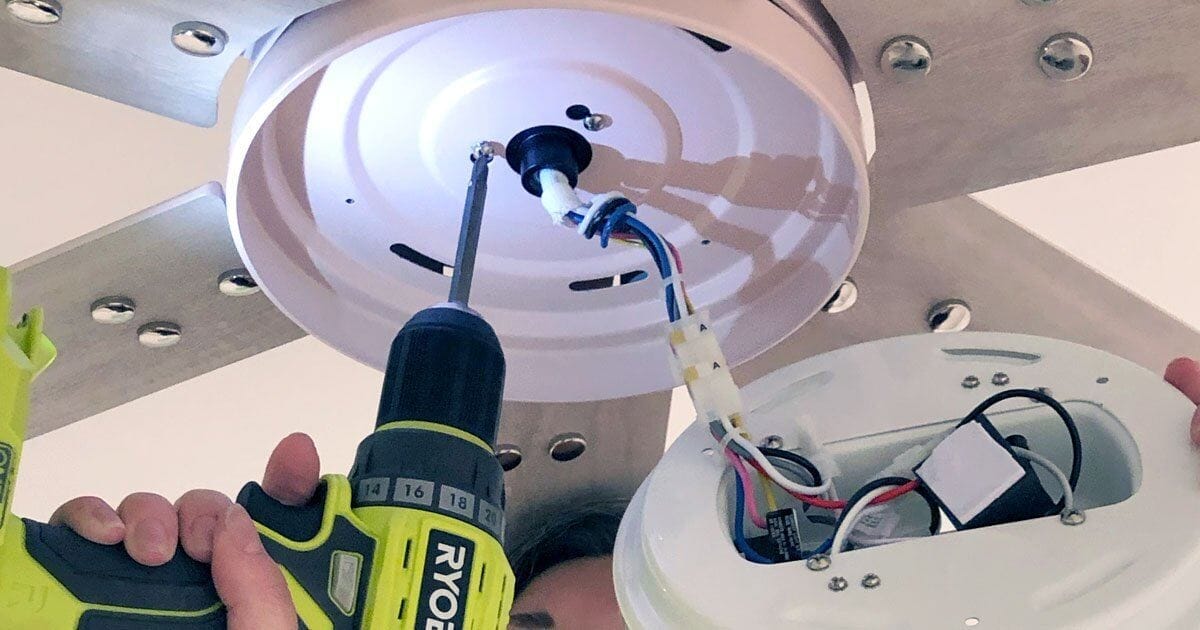
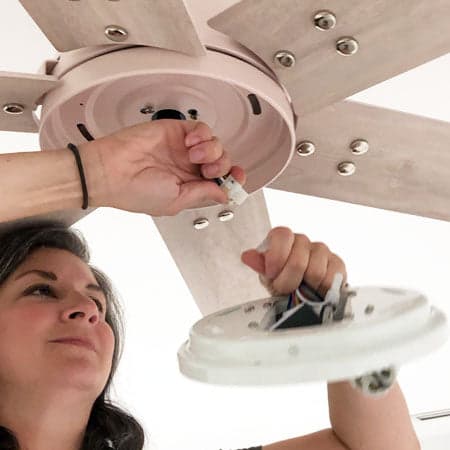
Separate connected ceiling fan wiring
With downrod fans, you’ll need to remove the canopy first. Then you can begin removing the wire nuts and disconnecting the fan wires from the house wires. If your ceiling fan has a remote receiver wired in the canopy, be sure to remove the wire nuts and disconnect the remote receiver wires from the fan and ceiling.
Once you remove the light and blades from your low-profile fans, you can remove the canopy to begin disconnecting the wires from the fan, ceiling, and any remote receiver. Low profile ceiling fans often attach to the mounting bracket from a hinge on one side that you can rest the fan, making it easier for you to use both hands for unwiring the ceiling fan.
NOTE: If you are uncomfortable with the wiring portion of removing a ceiling fan, consult with a certified, professional electrician.
Remove the ceiling fan bracket
You must remove the old ceiling fan’s mounting bracket. To ensure safe mounting of your new fan, always use the bracket that comes with your new ceiling fan. Your new fan’s bracket is designed and engineered to fit your ceiling fan’s downrod, hanger ball, and finish.
If your ceiling fan bracket is attached directly to the electrical box, remove those screws and keep them. You must reuse those screws if you attach the new ceiling bracket to the electrical box. If your ceiling fan bracket attaches to a wooden brace with wood screws, you’ll need to use new wood screws to attach your new ceiling fan bracket.

When you finish removing your old ceiling fan and replaced it with a new Hunter ceiling fan, what do you do with the old ceiling fan? We have some insight on how to recycle a ceiling fan. If you need help choosing a new ceiling fan, check out our buying guide or chat with our designer for some free design expertise.